REVIEW · PHOTOGRAPHY SESSIONS
Rome Photography Masterclass – Private Photography Lesson
Book on Viator →Operated by Aperture Tours · Bookable on Viator
Rome can be a camera overload. This private masterclass turns that chaos into clear shots. I like the personal coaching (Emanuele adjusts to your skill level) and the way you’ll shoot major landmarks plus quieter angles instead of just rushing by. One thing to consider: you’re not doing full museum-style visits here, since you’re generally photographing from the street or viewpoints, so bring realistic expectations.
What makes it work so well is the match between teaching and location. You choose a day or night session, and the lesson is designed around practical street/architecture photography moments across the city center, ending where you started at Fontana del Colosseo.
In This Review
- Key highlights to know before you book
- Why this private Rome photo lesson feels different
- Price and value: what $181.02 buys you in 3 hours
- Day vs night in Rome: your choice shapes everything
- Day session: crisp architecture and easier learning
- Night session: mood, light, and more technical challenges
- Meeting at Fontana del Colosseo: how the session gets going
- Colosseum stop: photographing a classic without feeling like a tourist
- Pantheon and the Roman Forum: using Rome’s lines to your advantage
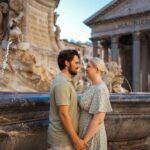
- Trevi Fountain: the photo lesson turns a crowd into options
- Piazza Navona: street-photo composition in a postcard world
- Castel Sant’Angelo: finishing with drama and detailed shooting
- What you’ll learn from the coaching (and how it helps immediately)
- Transportation, tripod, and what to bring
- Who should book this masterclass
- Should you book Rome Photography Masterclass? My take
- FAQ
- How long is the Rome Photography Masterclass?
- Is this tour private or group-based?
- Can I choose a day or night photography session?
- Where does the tour start and end?
- What sights are included during the 3 hours?
- Do I need an admission ticket for the stops?
- Is a tripod or camera included?
- How do refunds work if plans change?
- Is the tour language English?
Key highlights to know before you book
- Private, only your group: you get undivided attention instead of sharing a guide with strangers
- Day or night choice: pick the mood you want before you even set foot outside
- Tailored to your camera and comfort: from true beginners to more confident shooters
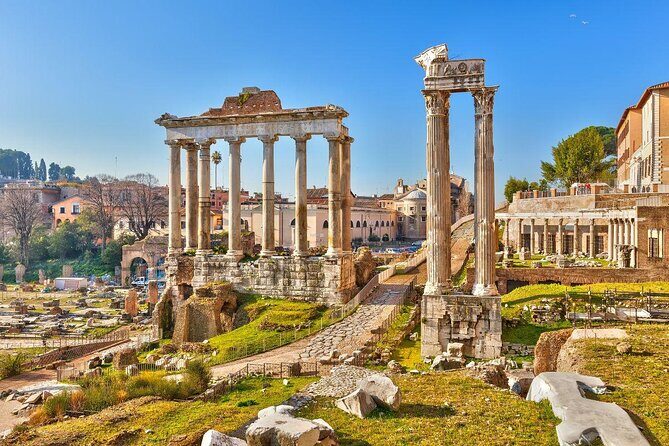
- Six Rome stops in ~3 hours: Colosseum, Pantheon, Roman Forum, Trevi Fountain, Piazza Navona, Castel Sant’Angelo
- Free admission tickets for stops: helpful since you’re mainly photographing from outside
- Pro guidance you can use immediately: settings, composition, perspective, and lighting tips on the move
Why this private Rome photo lesson feels different
In Rome, people often either chase famous buildings with a phone, or they get lost trying to master their camera. This masterclass does something smarter: it teaches you while you’re standing in front of the exact scenes you want to photograph.
The best part is how private it is. You’re not negotiating attention with other people. Emanuele’s style, based on what I see echoed again and again in the guidance described, is slow enough for beginners and specific enough for people who already know their way around buttons and menus. If you have 0 experience, you’ll still get something useful. If you already shoot, you’ll likely get tweaks that change how you see.
Another big win: you’re not only photographing the “big name” stuff. You’ll also get coached into finding angles and details that make a photo feel more personal. That matters because in Rome, lots of pictures look the same. Here, the goal is to help yours look like you chose it.
One more practical note: since the stops are structured around photographing from the area, don’t expect that this is a substitute for paid entry tours inside every site.
You can also read our reviews of more private tours in Rome
Price and value: what $181.02 buys you in 3 hours
At $181.02 per person for roughly 3 hours, you’re paying for three things:
- A local guide plus a photography professional guide (so you get both city sense and photo sense).
- Private coaching, which is usually where the real value sits.
- Time spent teaching on your actual camera and your actual problems while you’re in Rome.
You’re also saved a bit on attraction costs. The experience lists admission tickets as free for the stops, which lines up with the idea that you’ll pass by and photograph rather than run ticketed interiors. That makes the budget easier to predict, especially if you’re already juggling paid sights.
Things that are not included are just as important for value:
- Tripod is not included, but it can be available on request
- Transportation to/from attractions is not included
- Camera is not included
So, plan to show up with your own camera (or phone, if that’s what you’re using). If you don’t have a tripod and you want one for night shots, ask ahead or plan to shoot handheld.
Day vs night in Rome: your choice shapes everything
You can pick a day or night tour, and you should choose based on the kind of photos you want.
Day session: crisp architecture and easier learning
Daylight makes it simpler to:
- see details clearly for composition
- understand how lenses and framing behave
- practice settings without constantly guessing in low light
It’s also forgiving if you’re still learning basic camera control. It’s easier to follow instructions when you can immediately check results.
Night session: mood, light, and more technical challenges
Night in central Rome turns everything into light and shadow. That’s great if you want:
- street photography energy
- softer backgrounds
- dramatic building lines under lamps
It also means settings matter more. If you want night photos, this lesson helps you avoid the common beginner trap of shooting too dark, too blurry, or with the wrong shutter speed.
Based on the guidance style described in the tour feedback, Emanuele focuses on lighting and composition, so your night photos aren’t just “try harder.” You’ll learn what to change and why.
You can also read our reviews of more photography tours in Rome
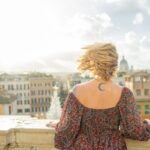
Meeting at Fontana del Colosseo: how the session gets going
The tour starts at Fontana del Colosseo, 00184 Roma RM and ends back at the same meeting point. That’s more helpful than it sounds.
A fixed starting point helps you:
- arrive without overthinking logistics
- stay oriented as the lesson moves through the city
- avoid a lot of extra transit time that can kill a short 3-hour session
It’s also listed as near public transportation, so if your schedule is tight, you won’t need a private driver just to begin.
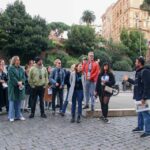
Once you meet, expect the first part to be about your goals: what you like photographing, what your current setup is, and where you’re getting stuck. This is where the private format pays off. With other group tours, you often get one-size-fits-all advice. Here, the coaching can shift to your level and your interests.
Colosseum stop: photographing a classic without feeling like a tourist
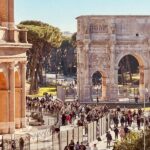
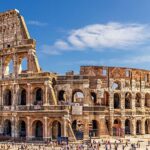
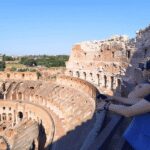
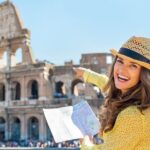
The first stop centers on the Colosseum area. You may pass by and photograph it, with about 30 minutes allocated.
Here’s the trick in places like this: when everyone frames the same angle, photos look repetitive. A strong photo coach will steer you toward:
- different viewpoints (higher/lower framing)
- leading lines and edge geometry
- timing for better light on stone surfaces
You’re also learning while you shoot, so you can apply techniques right away instead of saving it all for later. If you’re new, this is where you’ll get help understanding how camera settings change the result. If you’re not new, you’ll likely work on refining composition and perspective so the Colosseum doesn’t just become a postcard background.
Admission is listed as free for this stop, which matches the outside-photography approach. You should still treat it like a photo assignment, not a full sightseeing visit.
Pantheon and the Roman Forum: using Rome’s lines to your advantage
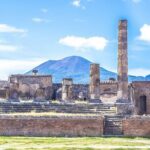
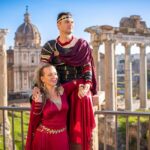
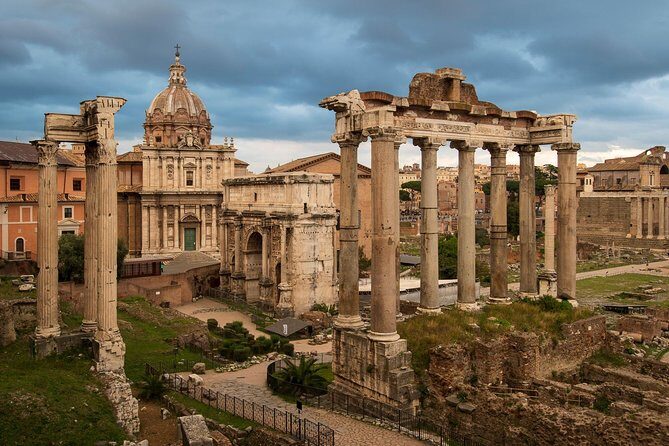
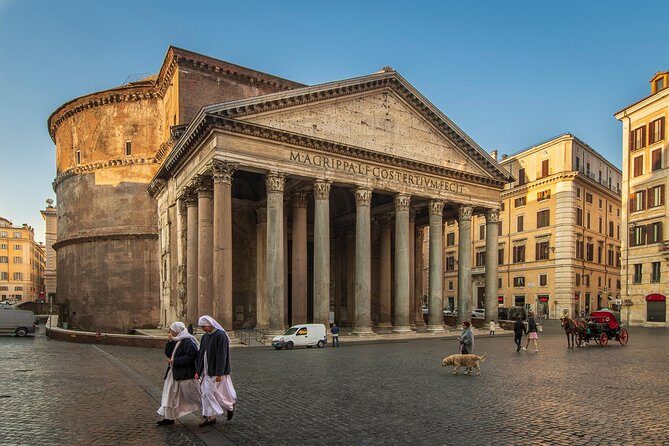
Next up: Pantheon, then Foro Romano (Roman Forum), with about 30 minutes each. Both stops are set up for passing by and photographing.
These two areas are perfect for learning because they naturally teach:
- symmetry and balanced framing
- how to place architectural elements in the frame
- how to avoid messy backgrounds
At the Pantheon, you can practice how the dome and surrounding structures pull the eye. At the Roman Forum, you can work on how ruins create layered depth, even when you’re standing still. The photo lesson format makes this more than wandering: you’ll be nudged toward specific framing choices and settings changes.
A practical thought: these areas can feel like visual overload. The coach’s job is to help you choose what matters in your viewfinder. That sounds basic, but it’s often the difference between a decent photo and a photo you actually like enough to keep.
Trevi Fountain: the photo lesson turns a crowd into options
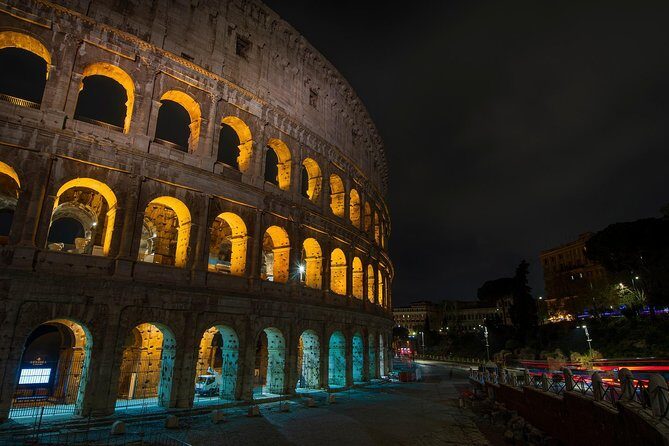
The tour heads to Trevi Fountain next, with another 30 minutes, and you may pass by and photograph it.
Trevi can be chaotic. If you just shoot from wherever you find space, you’ll end up with the same composition everyone else uses. This is where a teaching tour earns its keep: you’re likely guided toward angles and framing choices that create a more individual look.
One specific detail worth noting from the experience feedback: Emanuele has guided people toward an extra spot for a great Trevi shot, described as a special or more secret angle. That kind of guidance is valuable because you don’t waste time guessing where to stand.
Trevi at night is especially good if you chose the night session. The water and lighting help you practice exposure and contrast. Daytime Trevi is more straightforward technically, so it’s a good pick if you’re still building confidence with camera controls.
Piazza Navona: street-photo composition in a postcard world
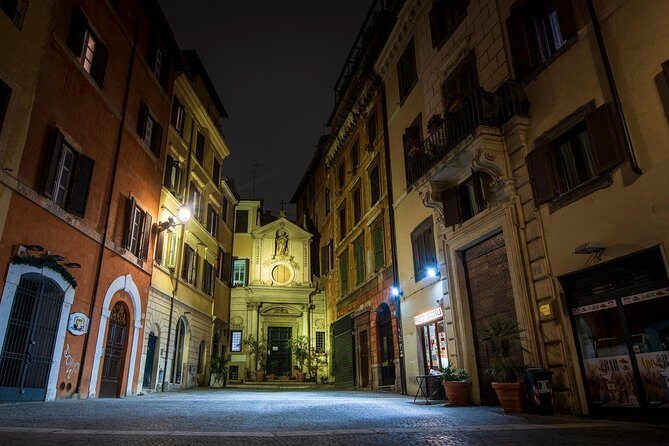
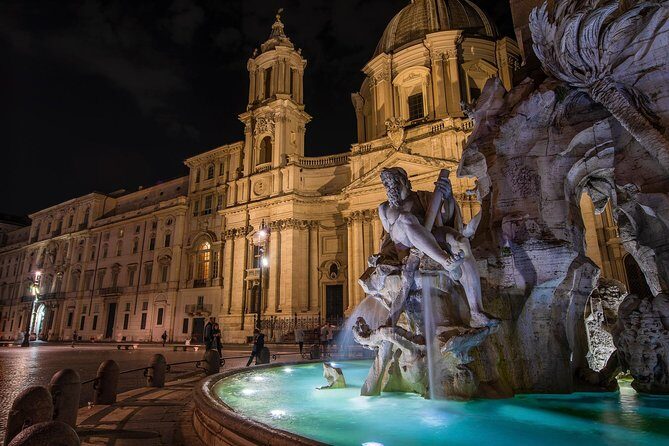
After Trevi, you’ll reach Piazza Navona, again with about 30 minutes for photographing while passing by.
Piazza Navona works because it’s a layout lesson. You can practice:
- placing major elements off-center for a stronger photo
- using the piazza’s structure and edges as visual guides
- composing with people and activity without losing the architectural point
If you’re with a partner who doesn’t care about photography, this stop can still work. The piazza is visually interesting even without taking a single photo. The coach’s explanations can also help you appreciate what makes a frame look right, even if you’re just watching and learning.
That’s part of why this kind of tour can be a rare win: it isn’t only for camera nerds. It’s for anyone who wants to leave with better photos and a better eye.
Castel Sant’Angelo: finishing with drama and detailed shooting
The final photo stop is Castel Sant’Angelo, also about 30 minutes with outside photographing.
Castel Sant’Angelo is a nice way to end because it’s different from the first landmarks:
- you get strong shapes and edges
- you can shoot details rather than just the whole monument
- it’s a good setting for thinking about lighting and texture
If you’re on a night session, this is often where you can see the benefits of learning exposure and light behavior. If you’re on a day session, it’s a great stop to practice how to simplify a busy scene into a clean frame.
The tour ends back at the meeting point, so you’re not left trying to navigate back while your camera batteries are dying.
What you’ll learn from the coaching (and how it helps immediately)
The teaching angle is the heart of this experience. What stands out in the feedback is not just that the guide knows Rome, but that he teaches with patience and adjusts to your level.
Here’s what you can realistically expect to improve:
- Camera settings you can actually use on the spot
- Composition and perspective, so your photos look intentional
- Lighting choices, especially for night shooting
- Confidence as a shooter, even if you started with 0 experience
One beginner-friendly detail that matters: if you’re starting from scratch, Emanuele’s approach includes explaining fundamentals and then translating them into action. So you’re not just being shown where to stand. You’re learning what to change and how it affects the photo.
For more experienced photographers, the coaching can be more about refinement: how you frame an angle, how you handle architectural detail, and how you adapt settings to the scene around you.
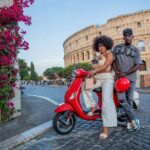
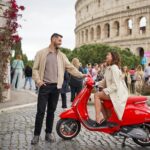
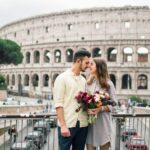
And if you’re coming as a couple, this can be extra valuable. Some people get guidance on not only shooting buildings, but also photographing partners and setting up a romantic scene with Rome as the backdrop. That’s a nice change from the usual “every photo is of a monument” trap.
Transportation, tripod, and what to bring
This masterclass is walking-based, but it includes no transportation to/from attractions. The meeting point is near public transportation, which helps you reach the start easily, but you should plan to handle your own moves between areas.
Bring:
- Your camera (or at least the device you plan to use)
- Your charger and memory (especially for night)
- A willingness to stop and shoot, then adjust, then shoot again
Tripod:
- Tripod is available upon request, but it’s not part of the standard inclusion list.
- If you want a tripod for steadier night shots, plan to ask so you aren’t stuck improvising.
Comfort matters too. You’ll be shooting at multiple outdoor stops. Wear shoes you can stand in and walk in for about 3 hours.
Who should book this masterclass
This is a good fit if you want Rome photos but also want to learn.
You’ll like it if:
- you’re new to photography and want step-by-step guidance
- you’re returning to your camera settings and want help applying them
- you want your photos to look more creative than standard landmark shots
- you’re traveling with someone who might not be a photography person, because the coaching can work even if only one of you is actively shooting
You might not love it if:
- you’re hoping for full interior entry to all major attractions
- you only want general sightseeing and don’t care about camera instruction
- you don’t want to walk or stop frequently for photo practice
Should you book Rome Photography Masterclass? My take
If you want better photos and you also want to understand what to do differently next time, I’d book this. The combination of private attention, practical camera coaching, and a focused route through Rome’s most photogenic areas makes the price feel reasonable for what you actually get in 3 hours.
The biggest reason to choose it is also the simplest: Emanuele teaches to your level and your interests. That turns Rome from a place where you take random pictures into a place where you learn to see and shoot on purpose.
If you’re comfortable with a camera and you’re ready to practice while you walk, this masterclass is a fast track to getting photos you’ll enjoy keeping.
FAQ
How long is the Rome Photography Masterclass?
It runs for about 3 hours.
Is this tour private or group-based?
It’s a private tour. Only your group participates.
Can I choose a day or night photography session?
Yes. You can pick between day or night tours based on your interests.
Where does the tour start and end?
It starts at Fontana del Colosseo, 00184 Roma RM, Italy and ends back at the same meeting point.
What sights are included during the 3 hours?
The experience includes time for photography at the Colosseum, Pantheon, Roman Forum, Trevi Fountain, Piazza Navona, and Castel Sant’Angelo.
Do I need an admission ticket for the stops?
The listed admission tickets for the stops are free, which matches the outside pass-by photographing format.
Is a tripod or camera included?
A tripod is available upon request, but a camera is not included.
How do refunds work if plans change?
Free cancellation is available up to 24 hours in advance for a full refund.
Is the tour language English?
Yes, the masterclass is offered in English.