REVIEW · BORGHESE GALLERY TOURS
Villa Borghese and Posh Areas Unique Photo Tour and Workshop
Book on Viator →Operated by RomePhotoFuntours Giulio D'Ercole · Bookable on Viator
Rome, taught through a camera lens.
This small-group photo tour with professional photographer Giulio D’Ercole helps you improve framing and settings as you move through Rome’s most photogenic spots. I love the hands-on composition coaching (not just a walk with suggestions), and I also like that the key stops pair big views with art details and street life—so you’re not repeating the same photo idea all afternoon. One thing to consider: if you arrive with no camera, rental gear and tripods cost extra (50 euros per kit) and you’ll need to pay cash.
You get to choose an early morning or afternoon slot, which matters a lot for light and shadows. The full experience takes about 4 hours and wraps near the Pantheon, with admission tickets listed as free for the stops on the route.
In This Review
- Key highlights you should know
- A photo tour that actually teaches you how to see
- 4 hours, 5 stops: how the route builds stronger photos
- Villa Borghese: sculptures, fountains, and a Rome feeling you can frame
- Terrazza del Pincio: quick skyline shots done right
- Spanish Steps: iconic architecture plus street-level life
- Via Condotti and its elegant side alleys
- Pantheon finish: a classic landmark with a photo workshop pace
- Bring your camera—or plan for Nikon rental gear
- Price at $213.03: what you’re really paying for
- Who this tour fits best
- Weather and comfort: plan for Rome’s outdoor reality
- Should you book this photo tour?
- FAQ
- How long is the photo tour?
- Where does the tour start and end?
- Is the tour offered in English?
- Are admission tickets included?
- What if I don’t have a camera?
- How big is the group?
- What happens if the weather is bad?
Key highlights you should know
- Giulio D’Ercole’s one-on-one style: you’ll get practical help on composition and camera settings while you shoot.
- A true small group (max 4 travelers): less waiting, more time to correct your technique on the spot.
- Five photo-heavy locations: Villa Borghese to Pincio viewpoints, down to Spanish Steps, through Via Condotti and side alleys, ending at the Pantheon.
- Early morning or afternoon tour choice: you can pick the light that fits your photography goals.
- Admission tickets for stops are listed as free: your money goes toward coaching and time, not entrance fees.
- No-camera backup exists: you can rent Nikon gear and tripods for an added fee if needed.
A photo tour that actually teaches you how to see
This isn’t the kind of tour where you shuffle from landmark to landmark and hope for the best. You’re there to practice technique—how to frame a subject, how to adjust for the conditions, and how to turn what you see into a photo that feels intentional.
What makes it work so well is the format: max 4 people, a professional photographer guide, and a route built around subjects with real variety. You’re switching between park textures and sculpture details, then climbing for skyline shots, then moving into posh street scenes and classic Rome architecture. It’s a fast way to tighten your photographic instincts without turning the day into a blur.
And yes, it’s built for fun. The guide doesn’t just point; he helps you adjust while you’re shooting—so you leave with better images and a clearer sense of what to try next time.
You can also read our reviews of more photography tours in Rome
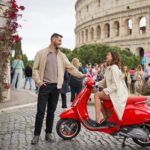
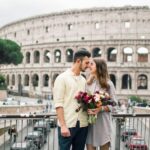
4 hours, 5 stops: how the route builds stronger photos
The itinerary is simple enough to follow, but smart in how it balances time:
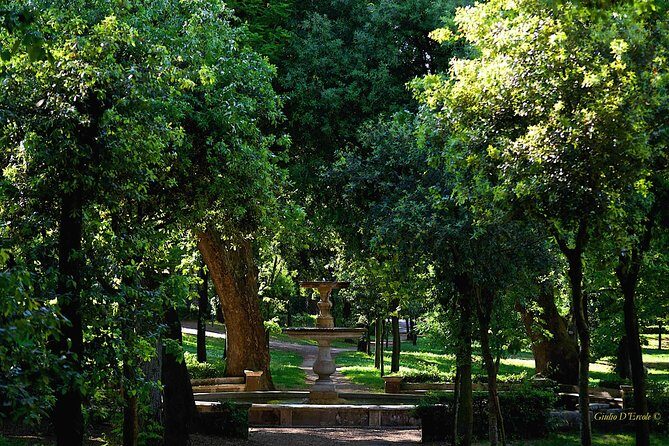
- Villa Borghese (2 hours) sets you up with nature, art, gardens, fountains, Rome city views, and even street artists. It’s the longest stop, so you get room to practice and experiment.
- Terrazza del Pincio (15 minutes) is short on purpose: you grab elevated shots of Rome from above, then head toward the Spanish Steps area.
- Spanish Steps (30 minutes) focuses on the famous steps, the square’s everyday scene, and the central fountain.
- Via dei Condotti (45 minutes) is about elegance plus side-street details—classy shops, sophisticated bars, and window displays, with alley detours for corner photos.
- Pantheon (30 minutes) is the final photo push, ending at the Fontana del Pantheon on Piazza della Rotonda.
That pacing is a big deal. You don’t waste most of your time locked into one type of subject. Instead, you keep changing your visual problem: foreground vs. background, vertical lines vs. curves, subject isolation vs. environmental storytelling.
One more practical note: the stops are listed with free admission tickets. That’s not just nice—it means your day stays more about shooting than planning.
Villa Borghese: sculptures, fountains, and a Rome feeling you can frame
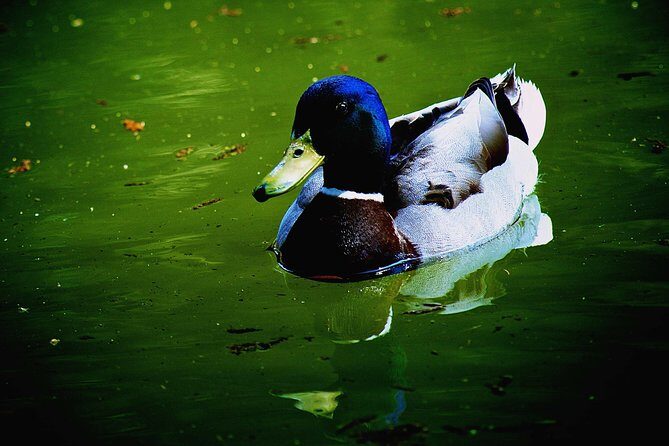
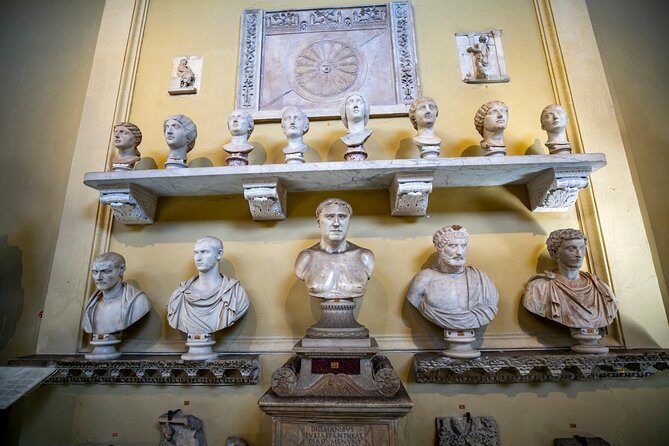
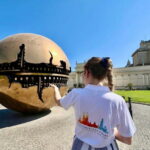
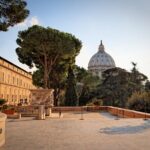
Villa Borghese is the heart of the shoot plan, and the guide leans into what makes it different from a typical park visit. You’re aiming at nature photography, sculptures, art and gardens, fountains, Rome views, and even street artists.
In real photo terms, this is where you can build skills fast:
- Watch for shape and repetition: pathways, plant lines, and sculpture geometry are made for strong framing.
- Use the fountain areas as focus points: water gives you texture and motion; it can also help you separate foreground from background.
- Mix “big” and “small”: you can chase wide compositions for the park and Rome in the distance, then switch to close details for sculptures and garden ornaments.
The big win here is time. With 2 hours, you’re not forced into one quick angle. You can try a composition, adjust settings for the light, and then re-shoot after the scene changes.
And from the reviews, this is where the guide’s coaching really shows. One person specifically said Giulio corrected technique within the first hour, pointing out flaws and helping them fix settings and framing. That’s the kind of payoff you want in the first big stop.
Also, admission is listed as free for this stop—so you can focus on creating photos instead of juggling ticket logistics.
Terrazza del Pincio: quick skyline shots done right
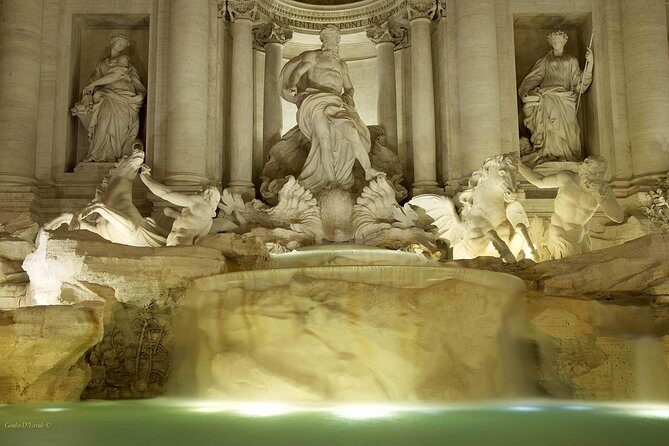
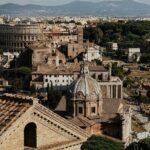
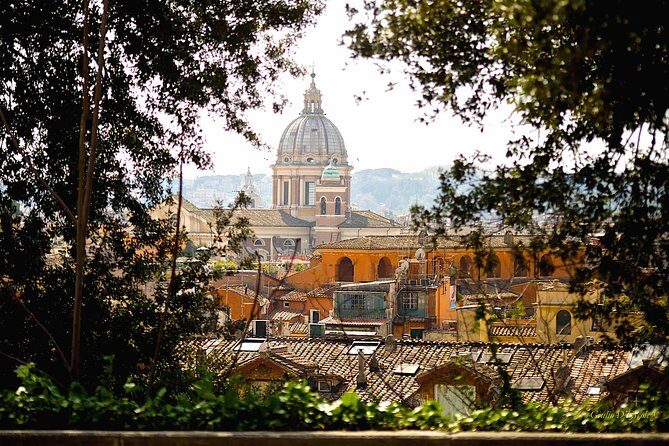
Terrazza del Pincio is only 15 minutes, but don’t treat that as a downside. It’s a focused window for one job: shooting Rome from above.
This is where you should think in layers:
- Foreground: terrace edges, railings, or nearby details can frame the view.
- Middle distance: rooftops and church domes give structure.
- Background: the “eternal city” skyline helps you capture context, not just buildings.
If you’re tempted to keep shooting the same “postcard” angle, this is where the guide’s framing help matters. You’ll get suggestions that help your photo read better—simple changes like where you place the horizon, how you crop, and what you keep sharp can transform the shot.
Then you move on toward the Spanish Steps area, which means you’ll keep the momentum going rather than burning daylight standing still.
Spanish Steps: iconic architecture plus street-level life
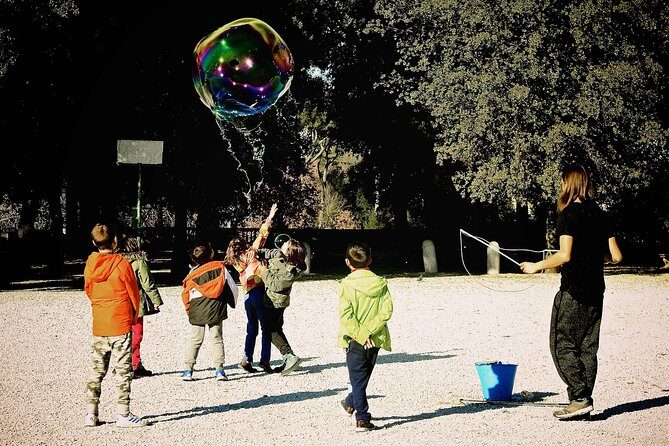
You’ll have 30 minutes at the Spanish Steps, which is the right amount of time for both classic and practical shots. The focus is on the steps, the square’s lively everyday scene, and the fountain in the center.
Here’s how I’d approach it if I wanted photos that don’t all look the same:
- Photograph the steps from more than one distance: a tight angle can highlight stone texture and lines, while a wider shot gives you the full stairway story.
- Use the fountain as a compositional anchor: it helps your eye travel through the frame.
- Watch your perspective: small shifts in where you stand can change how the geometry looks.
Because the guide is there for technique, you can also expect feedback on camera settings for whatever conditions you’re dealing with. One review mentioned Giulio helping with composition and settings for the light and conditions during the shoot.
The Spanish Steps stop is short enough to keep things lively, but long enough that you can actually test a few ideas instead of grabbing a single shot and moving on.
You can also read our reviews of more tours and experiences in Rome





Via Condotti and its elegant side alleys
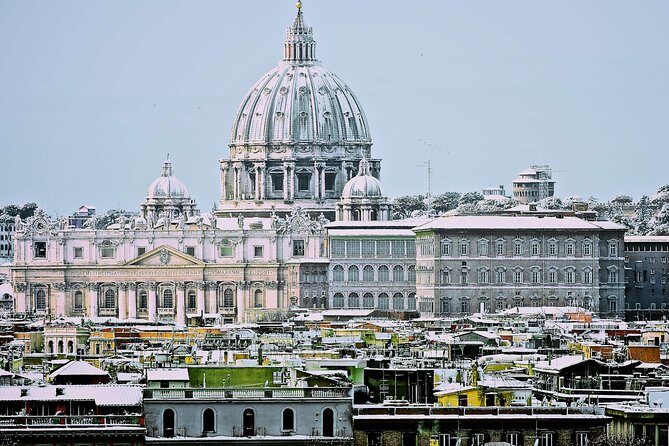
After the Steps, you head into Via dei Condotti, described as the most elegant and posh street in Rome—then you detour into small alleys departing from it. You’ll photograph corner scenes, classy shops, sophisticated bars, and window displays.
This part of the route is a nice change of pace because your subject becomes more “human-made” and detail-driven. Instead of sculptures and fountains, you’re working with storefront lines, materials, signage, and reflections in windows.
Practical photo coaching fits perfectly here:
- Look for repeating patterns: columns, arches, door shapes, and display layouts make strong compositions.
- Shoot reflections carefully: windows can look cool, but they can also overtake the scene. Adjust framing so your subject is still clear.
- Use the alleys for variety: they’re often better for more intimate compositions than the main street.
This is also where you’ll likely feel the contrast with the earlier park stop. One location teaches you nature and art framing; this one teaches you street detail and refined “texture” photography.
Pantheon finish: a classic landmark with a photo workshop pace
The final stop is the Pantheon, with 30 minutes for your last shots. You’ll end at the Fontana del Pantheon in Piazza della Rotonda.
Why this ending works: by the time you reach the Pantheon, you’ve already practiced your framing and settings across multiple subjects. Now you can apply that skill to a big, timeless structure with lots of visual lines and a dramatic presence.
For your photos, consider focusing on:
- Vertical lines and symmetry: even when the building isn’t perfectly centered in your view, your framing choices can make the structure feel balanced.
- Texture and architectural detail: doors, stone surfaces, and surrounding elements can add layers even if you don’t do the full “wide icon” shot.
- Your light direction: with an early morning or afternoon choice, the Pantheon’s look can shift. Use that to your advantage.
Ending here also keeps the day convenient. You’re finishing in a central, recognizable area, rather than trekking out to something far away.
Bring your camera—or plan for Nikon rental gear
If you already own a camera, you’re set. The tour says you can bring your own camera, and the guide will help you improve technique using your gear.
If you don’t have one, you can rent Nikon equipment plus tripods for 50 euros per kit, paid in cash. That setup is specifically helpful because street and architecture shots often benefit from stability, especially when you’re trying to compose carefully.
If you’re traveling with someone who isn’t photographing, this tour can still work. The included info says arrangements can be considered for non photographing spouses, partners, or children as guests. The key is to plan for how much walking time they’re comfortable with, since the day moves through multiple neighborhoods.
And one more real-world thought: wear casual clothes (the listed dress code is casual). You’ll be walking and stopping often, and photo tours tend to run best when you’re not fussing with clothing or shoes.
Price at $213.03: what you’re really paying for
The listed price is $213.03 per person for about 4 hours. That sounds like a splurge until you break down what you actually get.
You’re paying for:
- A professional photographer guide (not just a local escort)
- Small-group attention (max 4 travelers)
- Coaching that targets composition and settings, not just “where to stand”
- Multiple high-value photo locations, with admission tickets for the stops listed as free
- An option to choose early morning or afternoon (which can change your results)
If you’ve ever tried to learn photography on vacation by watching random YouTube tips in the hotel lobby, this structure is way more efficient. You spend time creating photos and getting feedback immediately, which usually beats “guess and check” solo.
Downside on value: if you need camera rental, the extra 50 euros per kit adds cost. Also, souvenir photos are not included; you can purchase them separately.
My take: for photographers who want practical improvements, the price looks fair. For people who just want quick landmark photos with no interest in learning, it may feel expensive compared to a basic sightseeing walk.
Who this tour fits best
This workshop suits you if:
- you want to improve framing and technique, not just take pictures
- you like variety: parks, sculpture and fountains, viewpoints, classic architecture, and street detail
- you appreciate personalized feedback while you shoot
- you enjoy learning from a photographer with real experience (Giulio D’Ercole is the named guide here)
It’s also a good match if you’re returning to photography basics. One review said the person came in wanting hidden treasures plus creative inspiration, and left feeling like they leveled up. Another review praised Giulio for helping with composition and settings within the first hour.
When to pass: if you’re only interested in a passive, low-effort photo tour and you don’t want to take direction, this probably won’t be as satisfying. Technique-focused tours work best when you’re willing to try, adjust, and shoot again.
Weather and comfort: plan for Rome’s outdoor reality
This experience requires good weather. If it’s canceled due to poor weather, you’ll be offered a different date or a full refund. That’s not unusual in Rome, but it matters because this is a walking-and-shooting day.
You should also assume you’ll be on your feet for most of the 4-hour window, hopping between stops. The tour is near public transportation, but it’s still designed as an active photo walk.
Should you book this photo tour?
Book it if you want more than souvenir photos. The combination of small-group coaching, a route packed with different subjects, and a guide who helps with both composition and settings makes this a smart learning trip.
Skip it if your goal is purely casual landmark snapshots and you don’t plan to engage with the technique part. Also consider the extra cost if you need camera rental and plan to pay cash.
If you’re on the fence, pick the tour time that matches your own style—early morning tends to feel calmer for many photographers, while afternoon can give you different contrast and shadows. Either way, you’ll have structured stops and dedicated time to practice.
FAQ
How long is the photo tour?
It runs for about 4 hours (approx.), including time at each stop.
Where does the tour start and end?
It starts at Via Vittorio Veneto, 150, 00187 Roma RM, Italy, and ends at Fontana del Pantheon, Piazza della Rotonda, 00186 Roma RM, Italy.
Is the tour offered in English?
Yes. The tour is offered in English.
Are admission tickets included?
Admission tickets are listed as free for the stops on the itinerary.
What if I don’t have a camera?
You can rent Nikon gear plus tripods for an additional 50 euros per kit, paid in cash. The tour also mentions you can bring your own camera.
How big is the group?
The tour has a maximum of 4 travelers.
What happens if the weather is bad?
This experience requires good weather. If it’s canceled due to poor weather, you’ll be offered a different date or a full refund.
If you want, tell me what camera you’re using (phone, mirrorless, DSLR) and which time you’re considering (early morning or afternoon), and I’ll suggest a simple shooting plan for each stop.