REVIEW · PHOTOGRAPHY SESSIONS
Unique Photo Tour and Workshop in Rome Dusk to Dawn
Book on Viator →Operated by RomePhotoFuntours Giulio D'Ercole · Bookable on Viator
Rome looks different when the crowds vanish.
This private overnight photo workshop in Rome focuses on getting you great shots without fighting daytime lines, with a professional guide who teaches you as you shoot. I especially like the small group size (max 4) and the hands-on approach to camera settings like ISO, shutter speed, and white balance. One drawback to plan for: it starts late at 10:00 pm, so you need stamina for a full night that runs until the city’s morning light.
What makes it feel practical, not just scenic, is the mix of real teaching plus a route packed with Rome’s biggest photographic playgrounds. You also have a clear way to improve after the fact through an optional photo review, if you want targeted feedback on your results.
In This Review
- Key highlights to know before you go
- Why a 10:00 pm dusk-to-dawn plan beats daytime Rome
- Small group, pickup options, and how the route actually gets you shots
- The night photography skills you’ll practice (not just hear about)
- Stop-by-stop: Piazza del Campidoglio and the Pantheon area
- Piazza Navona to Castel Sant’Angelo to St. Peter’s Square
- Teatro di Marcello, Piazza Venezia, and Isola Tiberina
- Rione Parione, Tempio di Vesta, and Terme di Caracalla in the late stretch
- Fontana di Trevi near sunrise: finishing strong with dawn color
- Optional photo review: using the workshop to improve, not just to collect images
- Gear, camera rental, and who needs to bring what
- Price and value: is $420.08 fair for a 7-hour night workshop?
- Who this dusk-to-dawn workshop is best for
- Should you book the Dusk to Dawn Rome photo workshop?
- FAQ
- What time does the workshop start?
- How long is the experience?
- Is pickup available from my hotel?
- How many people are in the group?
- Do I need to bring a camera?
- Will we photograph during both night and sunrise?
- What if the weather is bad?
Key highlights to know before you go
- Max 4 people so the guide can give real-time feedback, not generic tips
- Dusk, blue hour, and sunrise practice so you learn how light changes fast
- On-the-spot coaching for tripod setup, framing, and exact exposure decisions
- Private transportation to move efficiently between distant landmarks
- Optional image critique after the workshop to help you level up faster
- Camera rental option (Nikon kit + tripod for 50 euros, cash) if you’re arriving without gear
Why a 10:00 pm dusk-to-dawn plan beats daytime Rome
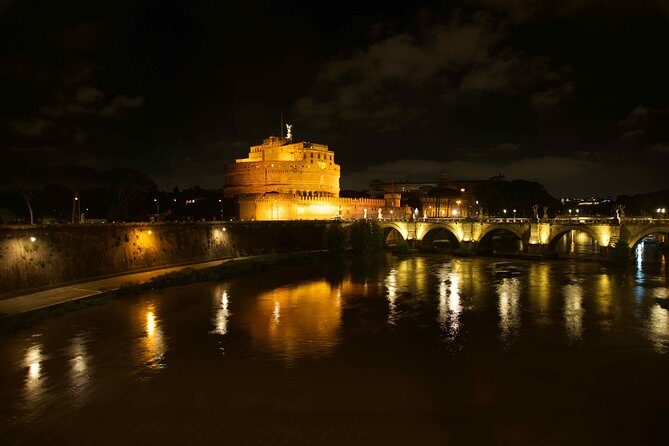
This is a night photography workshop with a purpose: you’re training your eyes and your camera while Rome shifts through multiple lighting moods. Starting at 10:00 pm matters because you’ll shoot after the peak crush, when many famous sites quiet down. Then the “real magic” is what you do during the transition: night light becomes blue hour, and then you work toward golden sunrise.
A big promise here is capturing iconic sights with far fewer people in frame, including the kind of moonlit, near-deserted images many people only dream about when they visit Rome. You’ll still see major landmarks, but the goal is fewer crowds in your photos and more control in your results.
One more practical benefit: after dark, you learn exposure fundamentals fast. Lights are more intentional, shadows are sharper, and the city’s mixed lighting (streetlamps, building lights, illuminated monuments) forces you to handle white balance and long exposures instead of relying on auto mode.
You can also read our reviews of more photography tours in Rome
Small group, pickup options, and how the route actually gets you shots
The workshop runs with a maximum of four people, which is a huge difference from standard group walks. With a tiny group, you can ask questions mid-shoot, and the guide can adjust your technique at the moment you’re making the photo.
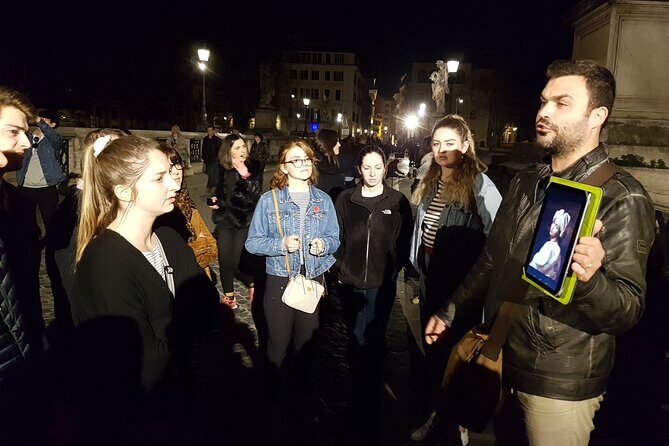
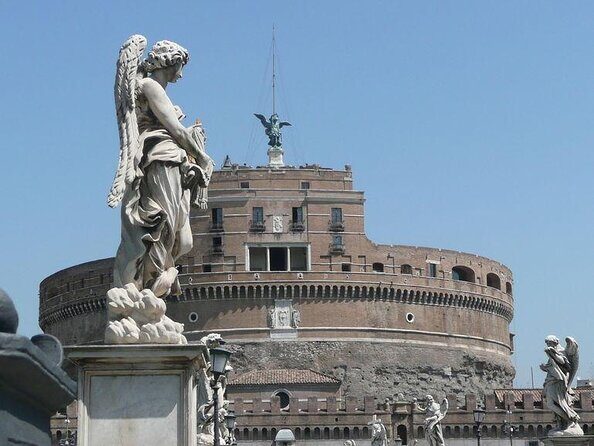
You can also request pickup at your hotel or Airbnb, otherwise you meet at Castel Sant’Angelo (Lungotevere Castello, 50) opposite the Bridge of Angels. Either way, you start in a strong location because you’re already near one of Rome’s best “night photography zones,” where riverside lighting and monument illumination give you plenty of options for foreground and leading lines.
Between stops, you use private transportation, then switch to walking for the scenes that work best on foot. That balance helps you spend time photographing, not stuck in transit.
The night photography skills you’ll practice (not just hear about)
This is built around practice. The workshop is designed for intermediate enthusiasts and passionate beginners who are ready to move past full auto. If you can set your camera to manual (or at least control key settings), you’ll get a lot more from the coaching.
Here’s what you’ll work on during the night:
Long exposures
You’ll learn how to use longer shutter speeds to capture light trails, smooth water and surfaces, and clearer monument edges. The key is doing it with purpose, usually paired with a tripod and stable composition.
Light balance and mixed lighting
Night in Rome means the city throws different colors at you: warm streetlights, cool architectural lighting, and dark sky tones. The workshop specifically targets white balance so your photos don’t end up with the wrong color cast.
ISO control
You’ll practice raising ISO when you need it, but also learning the tradeoffs so your images don’t turn noisy. That matters especially when you’re balancing sharp details with darker backgrounds.
Composition that works at night
You’ll practice framing using leading lines, symmetry, and layers (foreground interest plus the main subject). Night shots are easy to make pretty and hard to make compelling—composition is where you turn “a photo” into a story.
Timing from night to sunrise
The itinerary is paced around how light evolves. You’ll learn how to approach the same type of scene differently as the sky brightens and the color temperature shifts.
During the shoot, the guide provides real-time feedback—from tripod placement to exact exposure decisions. That feedback loop is what makes this more than a scenic photo walk.
Stop-by-stop: Piazza del Campidoglio and the Pantheon area
Stop 1 is Piazza del Campidoglio. This area is a strong starting point because it offers classic composition opportunities: structured geometry, architectural lines, and a plaza that can frame the sky and skyline cleanly. For night photography, plazas like this are great for learning how to place the horizon, handle bright highlights, and use symmetry without making the image look flat.
From there you head to the Pantheon (Stop 2). The Pantheon’s exterior lighting and shape make it ideal for practicing exposure control. You’ll be dealing with bright illumination against dark surroundings, so you learn fast how shutter speed and ISO affect contrast. It’s also a useful site for experimenting with “less is more” framing, since the building is strong even when the background is darker.
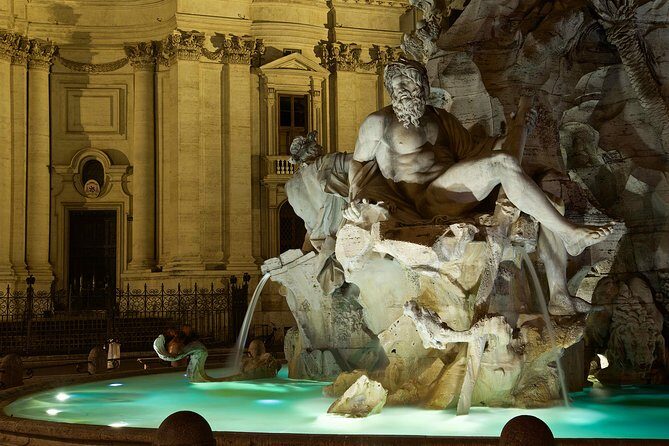
Stop 3 is Piazza Navona. This is where you can apply what you learn about foreground interest and layering. At night, the piazza lights change how reflections and surfaces behave, and the scene is a practical test of whether your composition choices still hold when the light is less predictable than in daytime.
Piazza Navona to Castel Sant’Angelo to St. Peter’s Square
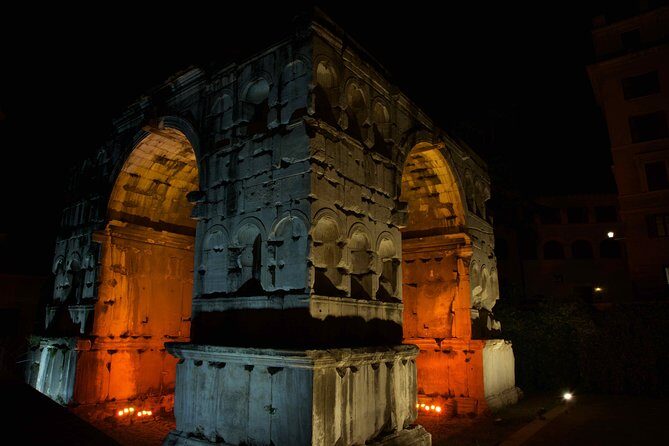
After Navona, Stop 4 is the Museo Nazionale di Castel Sant’Angelo. Even though Castel Sant’Angelo is also your meeting area, this stop matters because you’re likely shooting the monument from multiple angles across the night. Waterfront-adjacent settings are also great for practicing tripod stability and long exposures, especially when you can include reflections or layered depth.
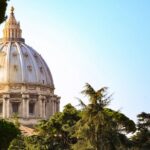
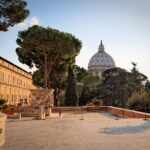
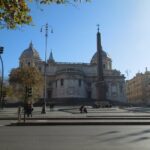
Stop 5 is St. Peter’s Square. This is one of those places where night photography forces you to think carefully about light and scale. If you want strong architecture shots, this is where you practice symmetry and alignment. If you want moody atmosphere, it’s where you work with negative space and sky tones as the night begins turning toward early morning.
Then you move on toward other Roman viewpoints (including Teatro di Marcello later), so your coaching doesn’t stop at one “big moment.” You’re learning a repeatable way to approach each landmark rather than treating Rome as a checklist.
You can also read our reviews of more tours and experiences in Rome





Teatro di Marcello, Piazza Venezia, and Isola Tiberina
Stop 6 is Teatro di Marcello. This area can look dramatic at night because you’re photographing stone forms with controlled lighting, often with fewer crowds than daytime. It’s also useful for learning how to manage textured surfaces and bright edges. When a building is partially shadowed, you’ll notice immediately how ISO and white balance choices change the feel of the shot.
Stop 7 is Piazza Venezia. This is a classic “work the lines” location. The setting gives you opportunities for leading lines and strong perspective—exactly what helps when the city background is busy. It’s also a good place to practice how to guide the viewer’s eye with your framing choices.
Stop 8 is Isola Tiberina. An island setting gives you natural separation. That helps composition because you can include the water channel and create clean layers. It’s also a useful moment to practice exposure planning for backgrounds: if the sky is dark, your foreground might be bright, and you’ll need to balance the two.
Rione Parione, Tempio di Vesta, and Terme di Caracalla in the late stretch
Stop 9 is Rione Parione. A neighborhood stop can be a clever teaching moment because it pushes you beyond only photographing the biggest, most obvious monuments. In an area like this, you can practice smaller details, narrow street geometry, and human-scale framing even when it’s dark.
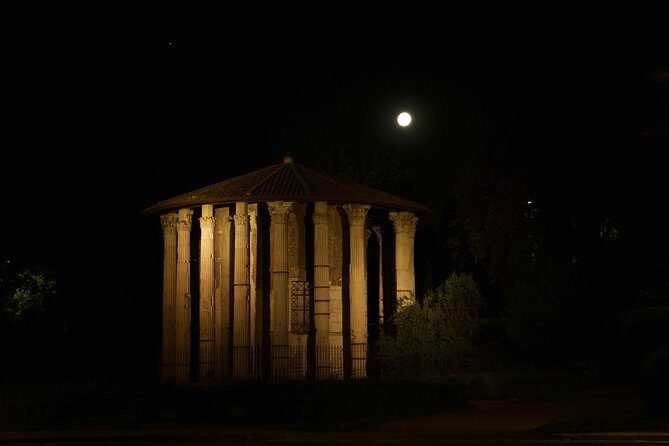
Stop 10 is Tempio di Vesta. Temples and ruins are excellent for night photography practice because they tend to be lit from specific directions, which creates depth. This is the kind of stop where your composition and exposure decisions become visible fast: one minor framing change can go from “interesting” to “cinematic.”
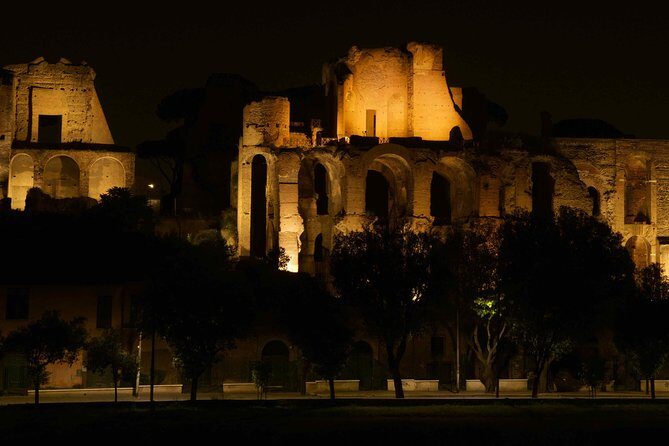
Stop 11 is Terme di Caracalla. Ancient sites like this are powerful in early light because they feel monumental when the sky starts to lighten. This is where you can apply the workshop’s core goal: understand how light evolution changes the scene from pure night mood to something more sculpted and readable.
Fontana di Trevi near sunrise: finishing strong with dawn color
Stop 12 is Fontana di Trevi. Even if you’ve seen it in daylight countless times, shooting it at night (and likely into the dawn phase) turns it into a different subject. You’ll work on long exposures, highlight control around the fountain’s brightest points, and composition that shows both structure and atmosphere.
If you’re hoping for that “Rome has the city to itself” feeling in your photos, this is the kind of ending that makes sense: you’re still capturing a world-famous icon, but you’re doing it with controlled settings and the sky shifting behind it.
Optional photo review: using the workshop to improve, not just to collect images
You have the option to submit your images afterward for a detailed critique. That can be genuinely valuable because it turns your learning into a feedback loop. Instead of guessing what worked or why, you get direction on improvement points you can apply to your next shoot.
If you’re the type who wants a stronger portfolio, this optional step can help you pick what to refine: composition choices, exposure consistency, white balance accuracy, or framing improvements.
Gear, camera rental, and who needs to bring what
If you arrive with a camera, bring one that lets you control settings like ISO, shutter speed, and aperture. The workshop teaches those controls directly, so you’ll learn more if your camera can handle manual or semi-manual settings.
If you don’t have gear, there’s a rental option: Nikon gear plus tripods for 50 euros per kit, paid in cash. If you’re considering this, plan to show up ready to use the kit immediately so you can get comfortable with the tripod process and shooting flow.
Also plan for basic night comfort. A long session starting at 10:00 pm means you’ll likely want layers and a way to stay comfortable while you wait between shots or light changes.
Price and value: is $420.08 fair for a 7-hour night workshop?
At $420.08 per person for about 7 hours, this isn’t a budget walk. But the value comes from what’s included and what’s limited.
You get:
- Professional photographer guide
- Private transportation
- Real-time coaching during active shooting
- A tiny group (up to four people)
For photography, the real expense isn’t just time in Rome. It’s instruction that reduces wasted shots. If you’ve ever spent a night taking photos you couldn’t fix later, this format addresses that problem by teaching the camera settings while you’re still at the locations.
The late-start schedule is also part of the value. You’re paying for the night window when the city is calmer and the light is more interesting. That is the whole point of the workshop: photos without the fight.
If you’re a beginner who wants auto-mode results with no setup, this will probably feel like a lot. But if you’re ready to take control of shutter speed, ISO, and white balance, it can feel like a fast-track to more confident shooting.
Who this dusk-to-dawn workshop is best for
This workshop fits best if you:
- Want to take photos in Rome at night with better control than auto mode
- Are interested in learning long exposures and mixed-light white balance
- Prefer small-group instruction with real-time feedback
- Like the idea of shooting across multiple light phases, from night to sunrise
It’s also a good match if you enjoy landmarks and neighborhoods, since the route includes big icons and more off-the-main-street viewpoints. And because you’ll be coached on composition techniques like leading lines and symmetry, you’ll get practical help even if your style is modern, cinematic, or classic.
Should you book the Dusk to Dawn Rome photo workshop?
I’d book it if your goal is quality night photos and real skills—not just sightseeing after dark. The max-4 setup, pro guidance, and targeted practice with settings like ISO and white balance make this feel like training you can use again tomorrow.
Skip it if you want a relaxed evening with no technical focus, or if a 10:00 pm start sounds miserable rather than exciting. Night workshops ask something from you: patience, basic camera control, and a willingness to set up, shoot, and adjust as the light changes.
If that sounds like your kind of trip, this is one of the more focused ways to see Rome at the hours most people never photograph well.
FAQ
What time does the workshop start?
It starts at 10:00 pm.
How long is the experience?
It runs about 7 hours (approx.).
Is pickup available from my hotel?
Yes. Pickup is available upon request from your hotel, Airbnb, or home. If you don’t request pickup, you meet at Castel Sant’Angelo opposite the Bridge of Angels.
How many people are in the group?
The workshop is limited to a maximum of 4 people.
Do I need to bring a camera?
If you have a camera, you can participate and practice the techniques. If you do not have a camera, you can rent Nikon gear plus tripods for 50 euros per kit, paid in cash.
Will we photograph during both night and sunrise?
Yes. The workshop covers the light changes from night to blue hour to golden sunrise.
What if the weather is bad?
The experience requires good weather. If it’s canceled due to poor weather, you’ll be offered a different date or a full refund.