REVIEW · EVENING EXPERIENCES
Rome, Private Sunset and Night Photography Guided Tour
Book on Viator →Operated by Rome Photography Tours · Bookable on Viator
Rome is a fantastic place to learn photography after dark. This private sunset and night session is built around real places, not fake practice. You’ll get a guided route timed for golden light, then you’ll shift into night shooting—so your camera skills change as the city lights up.
I like that it’s private and customized, so you’re not stuck following a generic script. I also like the hands-on focus on low light and long exposures, which is exactly where a lot of camera learning trips up. One thing to consider: you bring your own camera, and two major stops have admission that isn’t included.
In This Review
- Key Highlights I’d Prioritize
- Why This Sunset-to-Night Photo Tour Works in Rome
- Meeting at Largo di Torre Argentina: What to Expect Before You Start
- What You Must Bring: Camera Skills Are the Main Event
- Pantheon at Golden Hour: Classic Rome With Real Shooting Challenges
- Piazza Navona and Campo de’ Fiori: Two Squares, Two Photo Speeds
- Via dei Coronari and Largo Argentina: Learning to See Small Differences
- Sant’Angelo and St. Peter’s Square After Dark: Long Exposure Targets
- The Real Value: How You Learn Low Light and Long Exposures
- Price and Value: Is $216.29 Worth It?
- Who This Tour Fits Best (and Who Might Skip It)
- Should You Book This Rome Sunset and Night Photo Tour?
- FAQ
- How long is the Rome sunset and night photography guided tour?
- What time does the tour start and end?
- Is it a private tour?
- Do I need to bring my own camera?
- Is a tripod provided?
- Are entrance fees included for the photo stops?
- What language is the tour offered in?
- What if the weather is bad?
- Is there free cancellation?
Key Highlights I’d Prioritize
- Private, just your group: your guide can adapt to your camera level instead of rushing everyone.
- Sunset timing into night shooting: you learn the transition, not just one moment.
- Tripod support if you need it: useful for longer shutter speeds in Rome’s evening light.
- Beginner-friendly teaching: you can show up new and still leave with practical next steps.
- Strong stop choices with free photo access: several sights are free to enter, so you spend time shooting.
Why This Sunset-to-Night Photo Tour Works in Rome
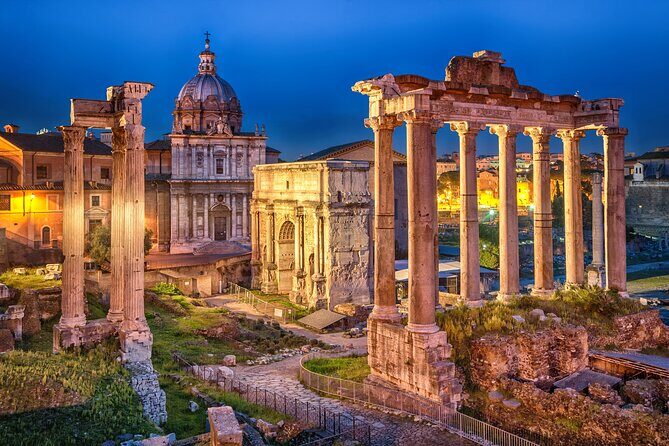
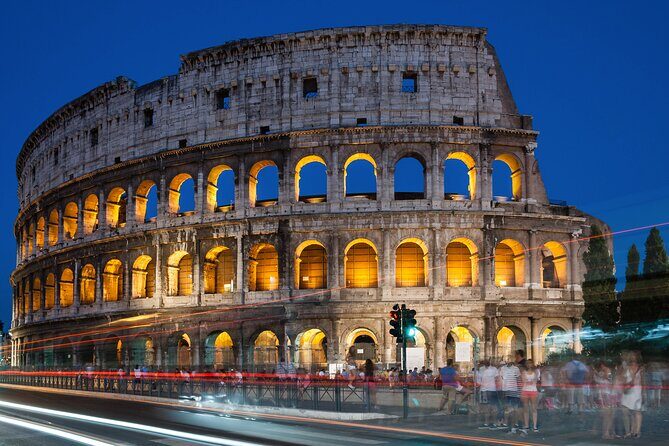
Rome at dusk does two things at once: it flatters your photos and it teaches you fast. Before sunset, the light is soft and forgiving. After dark, the challenge turns technical—shadows deepen, streetlights glow, and you start dealing with motion, reflections, and longer exposures.
That’s why this kind of guided flow matters. Instead of learning one concept in a classroom, you practice it where it actually shows up in your frame. The tour is designed for that shift: you’re in photogenic spots as the sky cools down, then you keep going as the city becomes a lighting diagram.
It’s also a smart format for a vacation. Three hours is long enough to learn, but short enough that you’re not losing your whole evening to one activity. And since it’s private, the pace can fit your comfort level—whether you want to ask lots of questions or just focus on capturing images.
You can also read our reviews of more guided tours in Rome
Meeting at Largo di Torre Argentina: What to Expect Before You Start
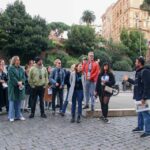
You’ll meet at Largo di Torre Argentina, 8 (00186 Roma RM), and the tour ends back at the same meeting point. The start time runs nightly (Monday through Sunday) from 7:30 PM to 10:30 PM, with confirmation sent at booking.
What I’d plan for:
- You’ll be moving between major sights for quick shooting windows, so think efficient.
- Admission is not covered at every stop, so bring a little cash or have your ticket plans ready for the places that charge.
- The tour is in English, so your guide can explain camera ideas clearly instead of leaving you to guess.
Also, the tour notes service animals are allowed and that most people can participate. If you have any mobility concerns, it’s still a good idea to check with the provider before booking since you’ll be in busy public areas after dark.
What You Must Bring: Camera Skills Are the Main Event
This is not a “someone takes your photos” tour. You’re learning by shooting.
You should bring:
- Your own camera (and ideally your charger or spare battery for the full window).
- If you have one, bring your tripod. If you don’t, the tour includes a tripod for travelers who need it.
- If you’re shooting with a phone, you can still participate—one of the guide experiences described included help for iPhones alongside traditional cameras.
A practical tip: before you go, do a quick menu check at home. Make sure you know where your settings live (even if you don’t fully understand them yet). In low light, you’ll want to change shutter speed, ISO, or focus settings without panicking.
Pantheon at Golden Hour: Classic Rome With Real Shooting Challenges
Your first stop is the Pantheon, with about 20 minutes of photo time. Admission isn’t included here, so if you want to go inside, you’ll need your own ticket plan.
Why this stop is useful for a photography lesson:
- It’s all geometry and clean lines, which helps you practice composition.
- The building is a strong subject even if the light shifts quickly.
- It’s a great way to learn framing choices before the night gets harder.
A downside to be aware of: because it’s a famous site, it can be busy. That means you’ll have less time than you think to nail one perfect shot. Use the lesson to your advantage—practice getting a few solid versions quickly, then refine.
Piazza Navona and Campo de’ Fiori: Two Squares, Two Photo Speeds
Next up is Piazza Navona (about 20 minutes). Access is free, so you can focus on photographing rather than managing tickets.
Piazza Navona is a great teaching ground because:
- It offers multiple layers at once—architecture, pavement patterns, and people flow.
- You can practice balancing bright points and darker areas as daylight fades.
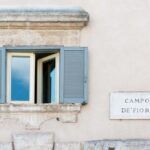
Then you’ll move to Campo de’ Fiori for another 20 minutes with free access. This is where you can switch from “pretty view” mode to “strong scene” mode. At night, squares can look flat if you don’t manage exposure and contrast. A guide can help you understand how to keep details while still letting lights breathe.
If you’re new: keep it simple. Pick a main subject (a building corner, a street angle, a glowing doorway), then shoot a sequence. The benefit of a guided tour is that you can correct course while you’re still in the learning window.
You can also read our reviews of more private tours in Rome

Via dei Coronari and Largo Argentina: Learning to See Small Differences
You’ll also stop along Via dei Coronari (around 10 minutes, free access). This street tends to reward patience. Even in a short window, it’s a chance to practice:
- how to align a photo so it looks intentional
- how to include leading lines without cramming everything into the frame
Quick shooting limits can be frustrating. That’s where the guide’s teaching helps. You’re not just chasing landmarks—you’re learning a way to decide what to include.
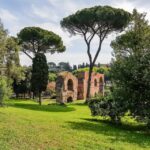
Another key stop is Area Sacra di Largo Argentina (about 20 minutes, free access). This is a more textured kind of Roman scene. It’s a good place to practice low-light settings and focus choices because you’ll have darker areas mixed with lighter highlights.
One more detail from the experience feedback you should take seriously: a guide named Antonio was praised for being patient and explaining rules in simple terms. That kind of teaching style is especially useful when you’re trying to capture smaller, moodier details without overthinking.
Sant’Angelo and St. Peter’s Square After Dark: Long Exposure Targets
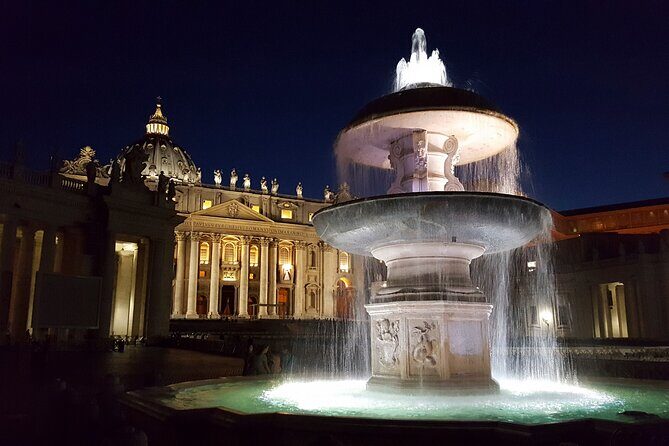
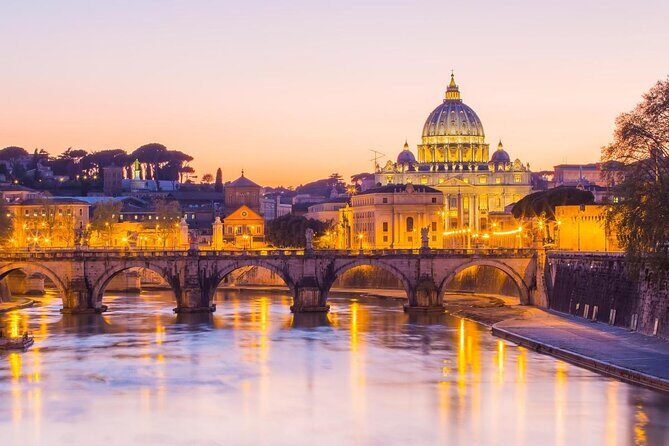
Later, you’ll spend time near Sant’Angelo (about 20 minutes, free access is listed, but admission is noted as not included). From what you’ll likely want to shoot here, Sant’Angelo works as a “night transition” stop: you’re moving from sunset brightness into stronger artificial lighting.
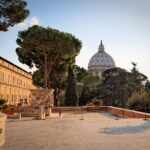
Then you’ll be at St. Peter’s Square (about 20 minutes, free access). This is a huge stage for night photography because the space is built for light. The challenge is exposure control and keeping bright areas from overpowering everything else.
If you take long exposures, a tripod matters. The tour includes one when you don’t have it, which is huge value. Long shutter speeds in a crowded area can be tricky, but practicing here is worth it because you’ll see how light trails and reflections behave in a real setting.
One thing to watch for: night photography often tempts you to stay too long at one angle. The guide’s role is to help you keep moving through the lesson so you get multiple tries.
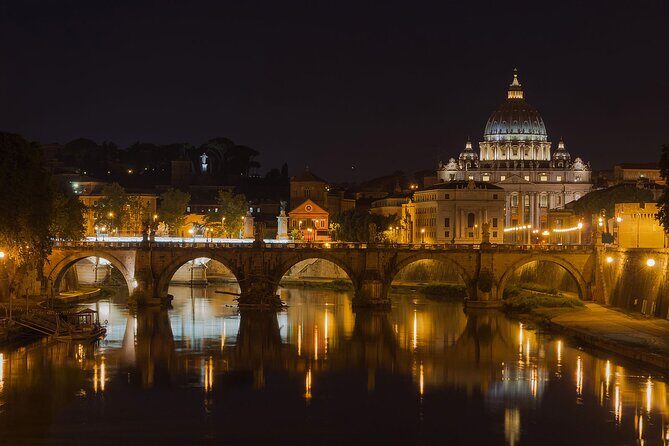
Also, at least one guided experience mentioned bridges as part of the photography opportunities. In Rome, bridges can add drama, depth, and leading lines—especially when lights stretch across the river. If your route includes them, use that moment to experiment with a longer shutter speed and see what happens to flowing light.
The Real Value: How You Learn Low Light and Long Exposures
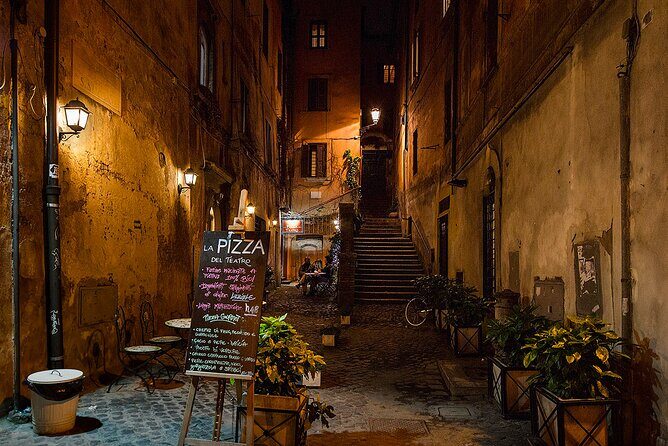
The tour doesn’t just show you sights. It teaches you how to see and how to adjust when the scene changes.
Here’s what you can realistically expect from a lesson like this, based on the focus of the experience:
- You’ll learn how to shoot in low light without guessing blindly.
- You’ll practice long exposures with the right stability (tripod support helps).
- You’ll get personalized guidance for different camera types, from iPhone to point-and-shoot to SLR.
One of the strongest praises in the feedback centered on guides helping people understand camera features they didn’t know existed. That’s a big deal if you’re traveling with equipment you already own but don’t fully understand. A three-hour lesson is the perfect time to turn that knowledge into usable habits.
If you like structure, pay attention when the guide explains the basics of exposure or night techniques. If you prefer to learn by doing, don’t worry—you still get instruction, but it stays connected to what you’re photographing in that moment.
And yes, it matters that it’s customized. If you tell your guide you’re a total beginner, they can slow down. If you already know some settings, you can focus on improving results.
Price and Value: Is $216.29 Worth It?
At $216.29 per person for about three hours, the value depends on what you want out of Rome.
This tour is best viewed as a combination of:
- Private, guided instruction
- A timed sunset-to-night photo route
- Tripod support when needed
If you’re paying for a lesson, you’re not just buying access to a few famous spots—you’re buying feedback while you shoot. That feedback can save you hours of trial-and-error later, especially in challenging night conditions.
Also, because admission isn’t included for every major stop, your personal total may vary. Plan for that mentally so there are no surprises. Still, many of the stops are listed as free access, which keeps the overall experience focused on photography rather than ticket logistics.
If your group is at least two people, private can feel even more reasonable because it spreads the cost across shared instruction time. If you’re solo, you’re paying more, but you also get full attention for your questions and settings.
Who This Tour Fits Best (and Who Might Skip It)
This is a strong fit if:
- You want your vacation photos to look more intentional.
- You’re new to photography or want a night-skill boost.
- You want guidance that works with different devices (not only one camera type).
- You enjoy walking around iconic places at a calmer pace than daytime crowds.
You might consider skipping if:
- You hate changing settings or learning even a few basics.
- You’re hoping for a sightseeing-only tour with no technical focus.
- You’re not willing to bring your camera and try during the time windows.
The reason I’d recommend it to beginners is simple: the tour is designed for learning in real conditions. And the feedback on guides like Antonio and Luigi points to patience and clear explanations—exactly what you want when you’re fumbling through settings.
Should You Book This Rome Sunset and Night Photo Tour?
If you want photos that look better because you learned something, book it. This tour is built for the hardest part of travel photography—low light—without making it feel like homework. You get a private lesson, tripod support when needed, and a route that keeps you shooting as the sky and lights change.
One last check before you commit: make sure your equipment is ready to use after dark. Charge your battery, bring your camera strap, and consider bringing a spare memory card if you have one. With that prep, you’ll be ready to take advantage of the guided instruction and leave with images you can actually be proud of.
FAQ
How long is the Rome sunset and night photography guided tour?
It runs for about 3 hours, in the evening.
What time does the tour start and end?
The experience operates daily (Monday through Sunday) from 7:30 PM to 10:30 PM.
Is it a private tour?
Yes. It’s private, so only your group participates.
Do I need to bring my own camera?
Yes. You must bring your own camera.
Is a tripod provided?
A tripod is included if you don’t have one.
Are entrance fees included for the photo stops?
Not for all stops. Pantheon and Sant’Angelo are listed as not included for admission, while several other stops are listed as free.
What language is the tour offered in?
The tour is offered in English.
What if the weather is bad?
The experience requires good weather. If it’s canceled due to poor weather, you’ll be offered a different date or a full refund.
Is there free cancellation?
Yes, you can cancel for a full refund up to 24 hours in advance of the start time.